

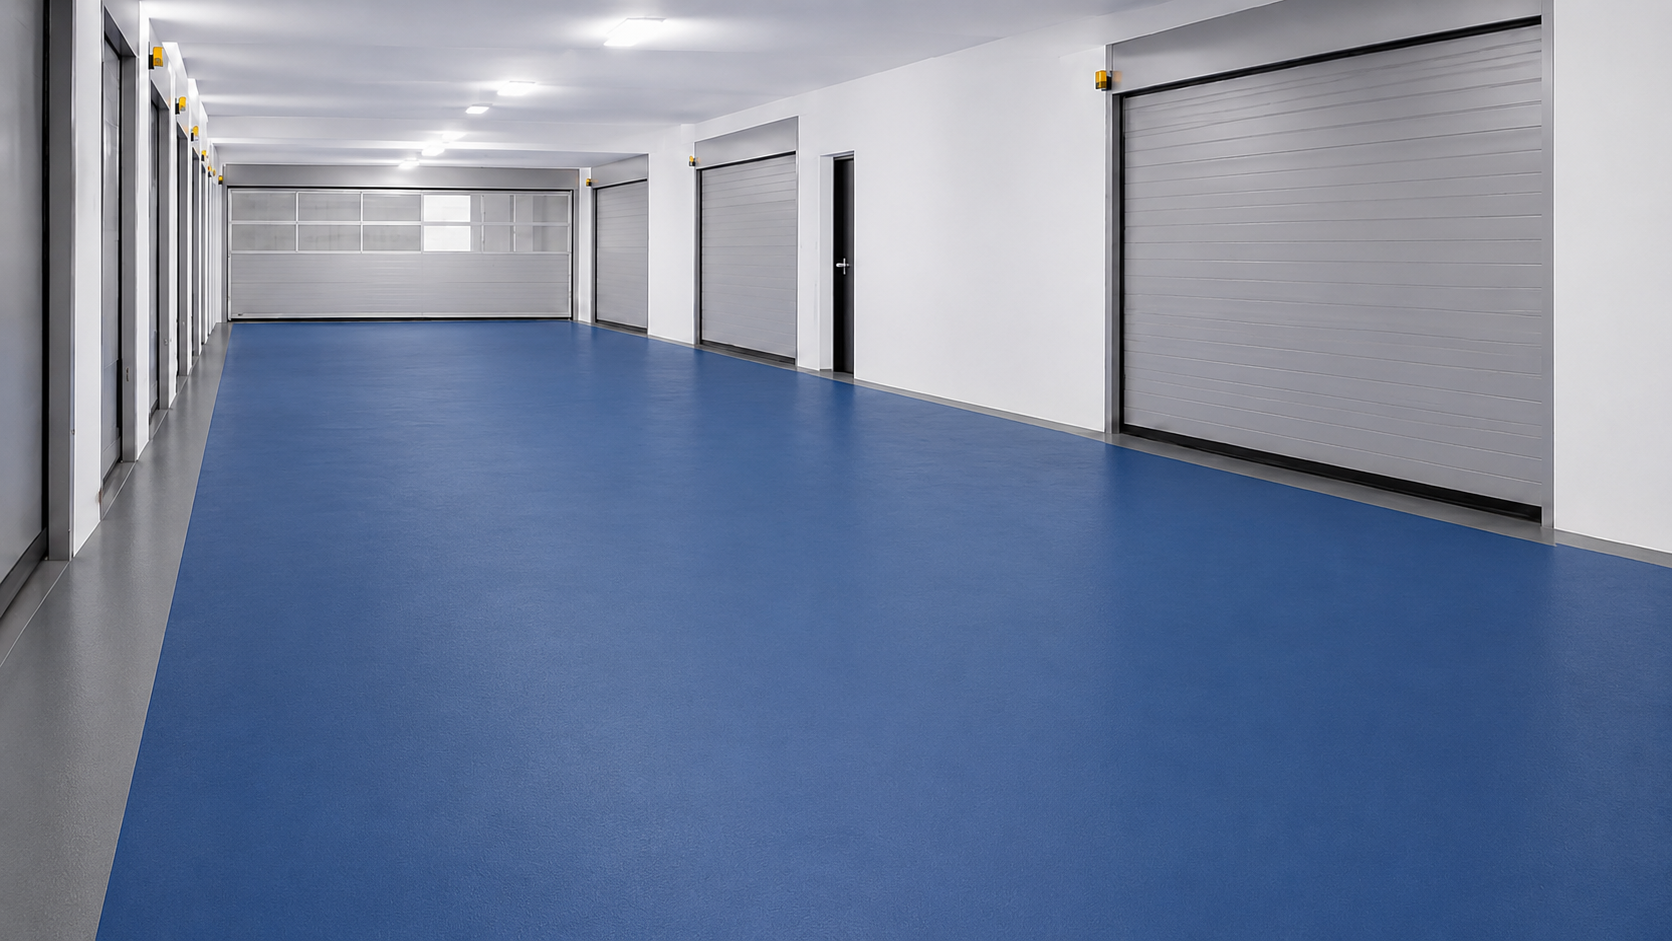
PU flooring is widely used in industrial facilities because it offers good resistance to wear, chemicals, and demanding operating conditions. However, the performance of the flooring depends on more than the material itself. The installation procedure directly affects bond strength, durability, surface finish, and long-term service life.
Each stage of installation has a specific purpose. The substrate must be properly prepared, the primer applied correctly, and the flooring installed within the specified working time. The finished floor must also be compacted, levelled, and allowed to cure before it is placed into service.

Step 1: Surface Preparation
Prepare the substrate to achieve the bond strength required between the polyurethane concrete flooring system and the concrete.
Before application, ensure the surface is:
- Sound, clean, and dry
- Free from dust and loose debris
- Free from oil, grease, and other bond-inhibiting materials
- Free from curing compounds, parting compounds, surface hardeners, and existing floor coatings
Use a commercial degreaser to remove oil and grease contamination. Remove curing compounds, existing coatings, and other surface treatments in accordance with the manufacturer’s recommendations. Once the surface is clean, carry out mechanical surface profiling to prepare both new and existing concrete floors for application.
Carry out groove cutting at edges, joints, columns, drains, and other termination points before priming. These grooves provide a mechanical anchor for the flooring system and help secure the floor at critical locations.
Step 2: Priming
Mix the pre-measured base, hardener, and aggregate using a mechanical stirrer until a uniform mix is achieved.
Then:
- Apply the mixed material immediately as a scratch coat using stiff brushes or rollers.
- Work the scratch coat firmly into the substrate to achieve proper anchorage.
- Avoid over-application during priming.
- Allow the scratch coat to cure completely before applying the flooring layer.
Allow the scratch coat to cure completely before applying the flooring layer. A properly anchored scratch coat provides a uniform base and promotes reliable adhesion of the flooring system.
Most polyurethane concrete flooring systems are applied over a cured scratch coat with a nominal thickness of approximately 1 mm.
Step 3: Flooring Application
Apply the mixed flooring material to the prepared and primed substrate immediately after mixing, as the working time is limited.
The application sequence typically includes:
- Install cove bases where specified.
- Place the flooring material using a screed or trowel.
- Compact and level the material using a hand trowel or power trowel.
- Install the flooring to the specified thickness, typically 4 mm to 9 mm, depending on project requirements.
Immediately after laying the material:
- Roll the surface using a spiked nylon roller to release entrapped air.
- Use a back-and-forth rolling pattern.
- Maintain approximately 50% overlap between adjacent passes.
- Carry out additional light rolling, if required, before the material begins to set to remove any remaining surface imperfections.
Step 4: Joint Detailing
Complete the flooring system by carrying existing joints through the new floor surface.
Follow these requirements:
- Continue all existing expansion and movement joints through the flooring system.
- Select joint sealants and joint geometry that are compatible with the flooring specification.
- Consider the expected service conditions and anticipated substrate movement when detailing joints.
Proper joint detailing allows the flooring system to accommodate structural movement while maintaining long-term performance.
Choosing the Right PU Flooring System
The final specification depends on operating conditions, service loads, hygiene requirements, chemical exposure, and electrostatic control requirements.
SUNCRETE PU MF: Polyurethane-Concrete Flooring System
Designed for application at a nominal thickness of 4–9 mm on dry substrates that are free from rising damp; where required, a suitable damp-proof membrane should be installed.
SUNCRETE PU HF: Polyurethane-Concrete Heavy-Duty Flooring System
Designed for application at a nominal thickness of 4–9 mm on dry substrates that are free from rising damp; where required, a suitable damp-proof membrane should be installed.
SUNCRETE PU AS: Anti-Static, Conductive Polyurethane Aesthetic Floor Screed
Applied to sound, clean, and dry surfaces with all dust and debris removed to achieve maximum bond strength between the substrate and the flooring system.
Partner with Sunanda Global
Sunanda Global has been supplying construction chemical solutions for more than 45 years across industrial flooring, waterproofing, concrete repair, and protective coatings.
Our polyurethane concrete flooring systems are developed for facilities where durability, hygiene, and reliable long-term performance are essential. Technical support extends beyond product supply, covering system selection, substrate assessment, and installation guidance, so the flooring system performs as specified throughout its service life. Get in touch with our experts to know more.
Frequently Asked Questions
Q.1. Can PU flooring be applied on newly constructed concrete?
Yes. Certain polyurethane concrete flooring systems can be applied on concrete after the minimum curing period specified by the manufacturer. Always follow the product recommendations before installation.
Q.2. Why is mechanical surface profiling carried out?
Mechanical surface profiling prepares the concrete surface for bonding. It improves adhesion between the substrate and the flooring system.
Q.3. Why is a scratch coat used before installing the flooring?
The scratch coat acts as the priming layer. It improves coverage, develops bond strength with the substrate, and provides the base for the flooring layer.
Q.4. Why is a spiked roller used after the flooring is laid?
A spiked nylon roller helps release trapped air and reduce surface imperfections before the flooring material begins to set.