

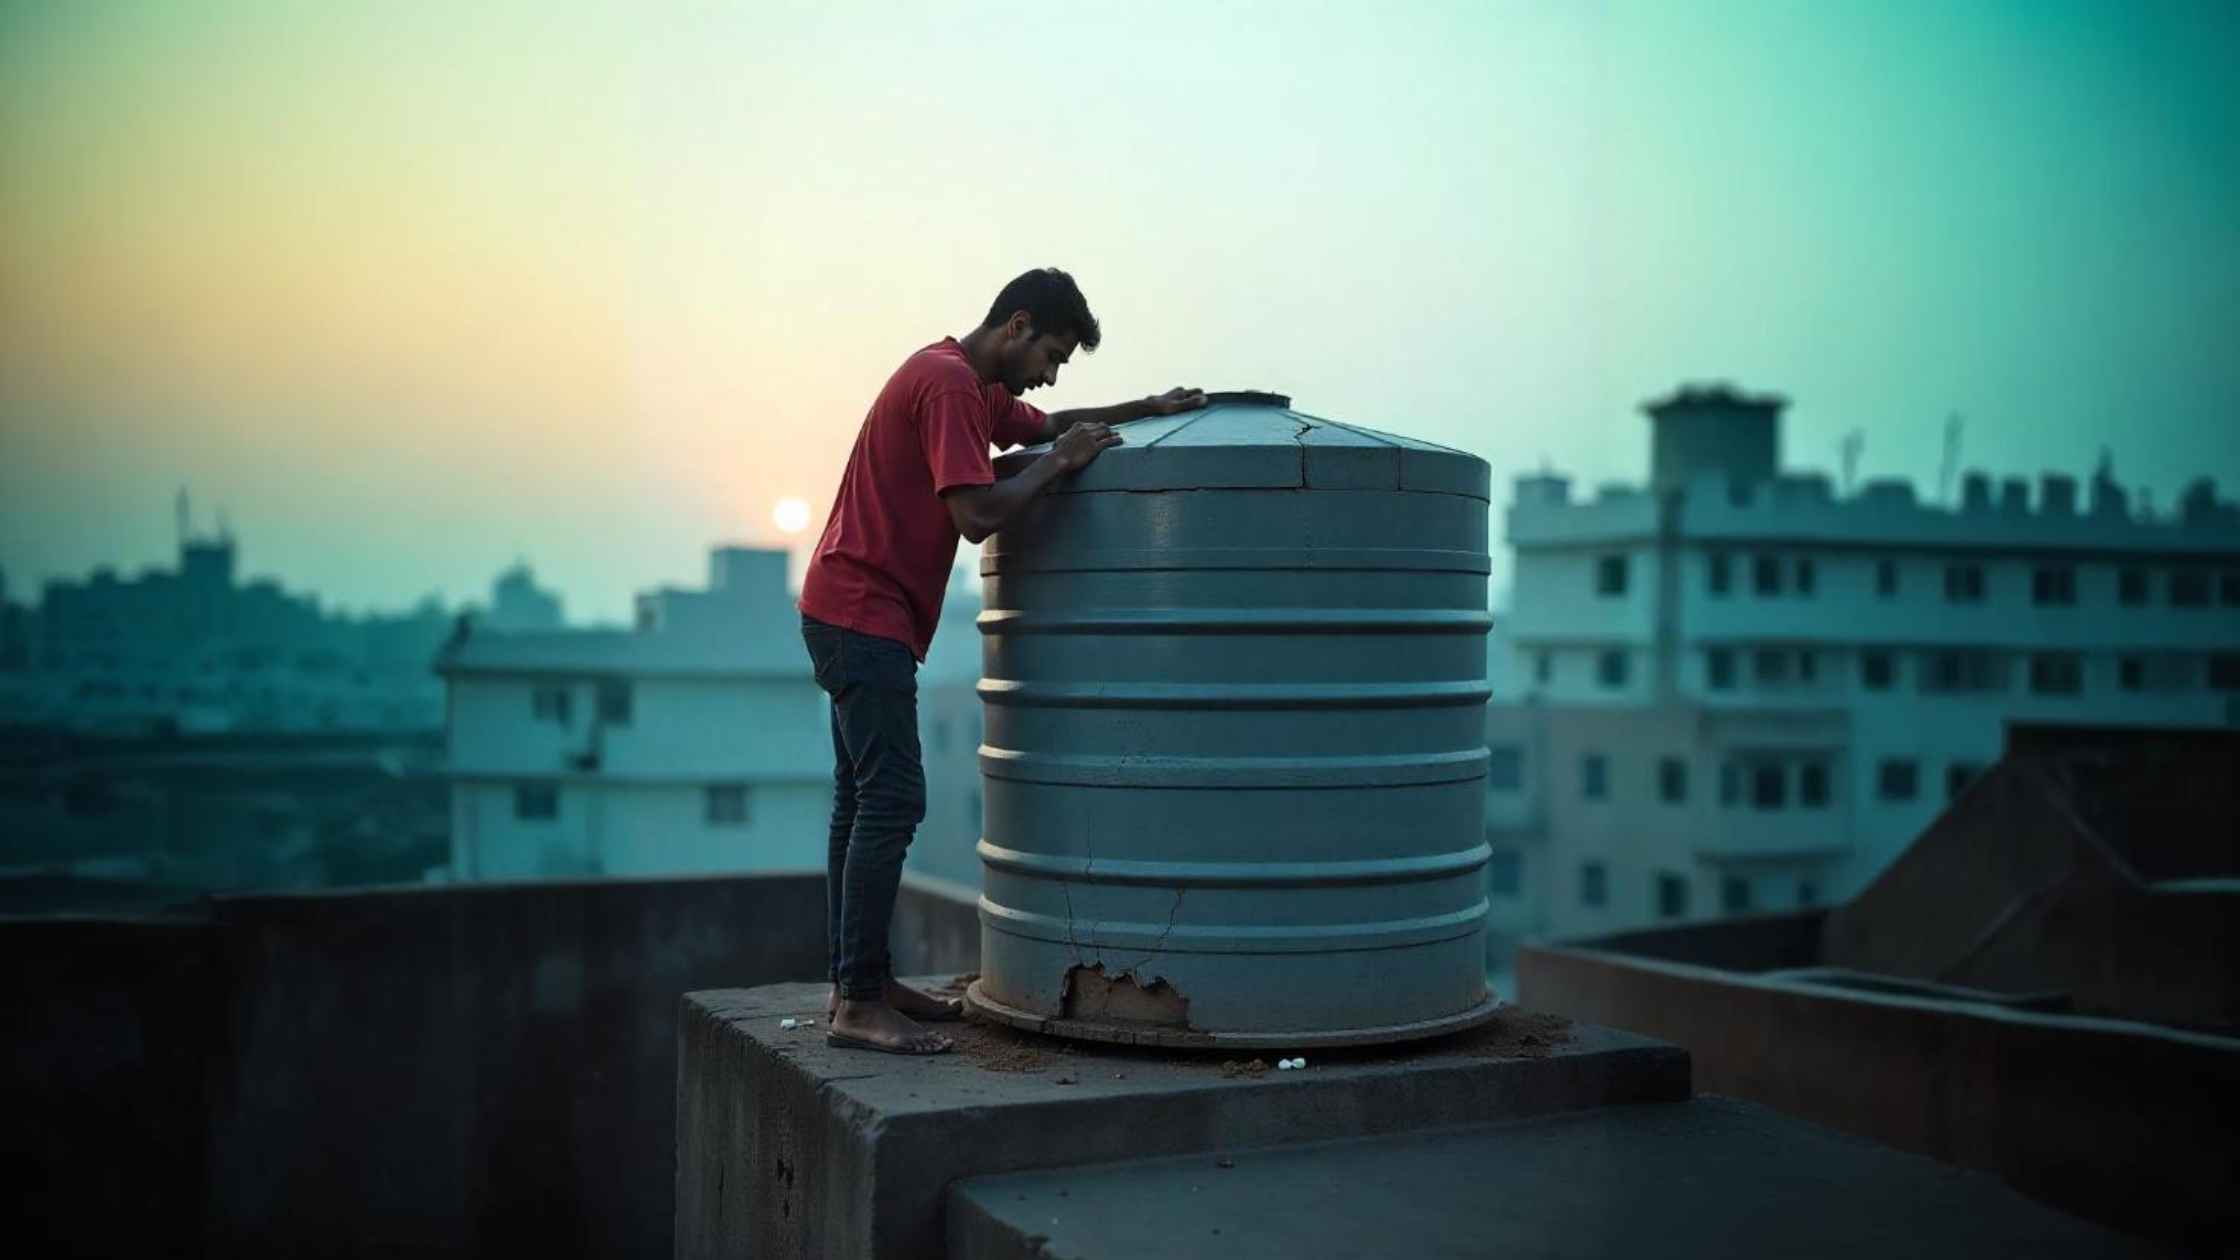
A leaking concrete water tank is a major issue. It wastes water, weakens the structure, and can lead to contamination. But draining the entire tank for repairs? Not always practical. Emptying a tank means water shortages, disruption, and extra costs.
The good news? You don’t always need to drain the tank to fix leaks. Repairs can be done from the outside and inside using effective water leakage solutions, many of which are similar to roof waterproofing methods that stop water seepage and strengthen the tank. Whether you’re dealing with an overhead tank or an underground water tank leakage solution is what you need, the right repair method depends on where and how the tank is leaking. Want to know how? Keep reading to explore the best repair methods and waterproofing products!

How to Repair Cement Water Tank Leakage Without Draining (From the Outside and Inside)
1. Identify the Leakage Point
Before repairing the leak, locate the exact spot:
- Look for wet patches or damp areas on the tank surface.
- Check for visible cracks inside or outside.
- Tap different sections: hollow sounds may signal weak spots.
- Observe water flow for slow seepage areas.
Tip: Can’t spot the leak? Place a dry cloth on the suspected area and check for dampness later.
2. Use Underwater Epoxy Sealant (For Internal Repairs)
Underwater epoxy is a reliable water tank leak repair solution for fixing cement water tank leaks without draining the tank. It bonds underwater, sealing cracks instantly. This epoxy has hydrophobic properties, meaning it repels water while curing, forming a strong, waterproof seal. You don’t need to worry about the epoxy dissolving in water.
How to Apply Epoxy for Water Tank Leaks:
- Clean the leak area with a wire brush.
- Mix the epoxy as per the instructions.
- Apply directly onto the wet surface.
- Allow it to cure fully.
3. Apply Hydraulic Cement (For External Sealing)
Hydraulic cement expands as it sets, making it a great solution for roof waterproofing and water tank sealing.
Steps to Fix the Leak with Hydraulic Cement:
- Clear loose debris and widen the crack slightly.
- Mix hydraulic cement with water into a thick paste.
- Apply the paste onto the crack, pressing firmly.
- Hold for a few minutes until it sets.
4. Use Polyurethane Grouting (For External Repairs)
Polyurethane grout is an expanding sealant that fills cracks and stops water seepage instantly.
How to Apply Polyurethane Grout:
- Drill small holes along the crack.
- Inject the polyurethane grout using a grouting gun.
- Let it expand and fill the gaps.
- Allow it to cure for a long-lasting roof leakage solution.
Underground Water Tank Leakage Solution: What’s Different?
Underground water tanks face a different set of challenges compared to overhead or surface tanks, so the water tank leakage solution for water tank you choose needs to account for these factors:
Hydrostatic pressure: Groundwater around a buried tank exerts constant outward or inward pressure, which can force water through even hairline cracks. Sealants used for underground repairs need to bond and cure reliably under this sustained pressure.
Limited access: Since the tank is buried, external repairs often mean excavation. This makes internal, underwater-curing solutions like epoxy sealants and polyurethane injection grouting especially useful, as they can be applied without digging up the tank.
Soil movement: Shifting or settling soil can create new stress cracks over time, so periodic inspection matters even more for underground tanks than for above-ground ones.
Waterproof coating application: For a cement water tank leakage solution that lasts, an internal cementitious or polyurethane coating (applied once the tank is drained and accessible) adds a long-term barrier against seepage from all sides.
The core repair methods, epoxy, hydraulic cement, and polyurethane grouting, remain the same. The main difference lies in prioritizing internal, no-excavation techniques first, and reserving external excavation-based repairs for cases where the leak cannot be sealed from inside.
How to Prevent Water Tank Leakage in the Future
Fixing leaks is just part of the solution. To stop future leaks, follow these preventive steps:
1. Apply a Waterproof Coating for Long-Term Protection
Applying a waterproofing coat inside the tank is one of the best ways to permanently prevent water seepage. This method requires draining the tank but provides a long-lasting roof waterproofing solution.
Best Waterproofing Chemical for Water Tank & Roofs:
- POLYALK WP – A cementitious waterproofing solution that strengthens the tank.
- SUNKOTE WP+ – An acrylic waterproof coating that prevents seepage.
- SUNPUGARD – A polyurethane waterproof coating suitable for roofs and water tanks.
Steps to Apply a Waterproof Coating:
- Drain the tank completely.
- Clean and roughen the surface using sandpaper.
- Apply the first coat and let it dry.
- Apply additional layers for stronger protection.
- Let the coating cure before refilling the tank.
2. Regular Inspections
- Check for small cracks before they worsen.
- Monitor leakage-prone areas like joints and edges.
- Look for damp patches on external surfaces.
3. Keep the Tank Clean
- Remove algae and debris that weaken the surface over time.
- Scrub and clean the tank every few months to prevent buildup.
Why Choose Sunanda Global for Water Tank Waterproofing?
As the best waterproofing company, Sunanda Global provides high-quality water tank waterproofing solutions for homes, commercial buildings, and industries. Our expertise in roof waterproofing services ensures long-term protection against water seepage and leakage.
If you’re dealing with water tank leakage, don’t wait for the damage to worsen. Contact Sunanda Global today for trusted top-grade products or waterproofing contractors in Mumbai and other major Indian cities.
FAQ’s
Q1. How can I identify where my water tank is leaking from?
Look for damp spots, wet marks, or patches of discoloration on the outer wall. You can also let the tank sit unused for a few hours and watch for areas where moisture reappears, that’s usually the leakage source.
Q2. Can a water tank be repaired without draining all the water?
Yes. Certain materials like underwater epoxy sealants can cure even when submerged, making them ideal for quick fixes without full draining.
Q3. Which materials work best for fixing cracks in a concrete tank?
Hydraulic cement, epoxy resins, and polyurethane grout are the most effective. They expand slightly as they cure, sealing even hairline cracks permanently.
Q4. What steps should be followed to fix an external crack in a water tank?
Clean the crack, widen it slightly for better grip, apply the repair compound (like hydraulic cement), and allow it to cure completely before refilling the tank.
Q5. What is the best waterproofing chemical for a water tank?
Cementitious coatings like POLYALK WP, acrylic coatings like SUNKOTE WP+, and polyurethane coatings like SUNPUGARD are among the most reliable, each suited to slightly different tank surfaces and exposure conditions.
Q6. Is there a different water tank leakage solution for underground tanks?
The repair materials are the same, but underground tanks need solutions that work under hydrostatic pressure and without excavation wherever possible, such as underwater-curing epoxy sealants and polyurethane injection grouting.
Q7. How long does a cement water tank leakage solution typically last?
With proper surface preparation and correct curing, treatments like hydraulic cement patching and cementitious waterproof coatings can last several years, though periodic inspection is still recommended to catch new cracks early.